This week (12/8/16) VMware released vRealize Network Insight (vRNI)
was released and added some really cool capabilities to the platform. Some
highlights are below.
·
XML Export of Firewall Rules
·
Support of NSX Edge NAT
·
Application Centric Micro-segmentaton
·
Online upgrade
·
NSX configuration, health and capacity checks
·
Handful of other misc. features
I plan to blog about many of these features, but let’s start
with the basics and see what we need to do and get the ball rolling. First,
download the 2 files needed, the platform and proxy OVAs. Be warned, this is
close to 14GB of files. If like me, you have slow(ish) Internet, patience is a
virtue. You’ll want to make sure you
have resources to meet the requirements.

Now that you have the files and meet the specs, let’s get
started. I’ll be using the fat client because, well….I use it when I don’t have
to use the web client. On a side note, I
hear the 6.5 client is awesome but have not used it and NSX and vRNI don’t
support it yet today. Anyways, find the data center you want to deploy the OVF
to and start the process like below. You’ll
start with the Platform as that’s the main engine for the product.
You’ll go through the usual process of showing the
requirements, EULA, and location.
Step 1

Step 2

Step 3

Step 4

Step 5

The first real question you’ll need to
address is the size of the configuration. Your choices are Medium or Large and
depending on the size of your deployment and the volume of data you’ll collect.
The easy decoder is the number of VMs you have to drive the sizing. If you have
~3,000 VMs, medium will work fine and if you have ~6,000 or more choose large.
As always, these are “it depends” numbers and you can work with your account
team to see the rest of the equation and make the best choice for you.
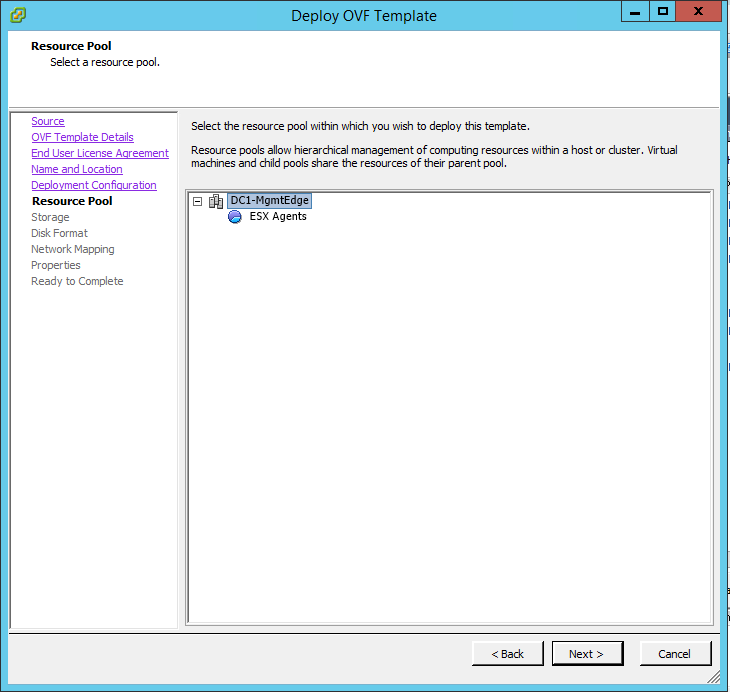
Step 6

Step 7

Step 8

Step 9

Step 10

Extra settings on the properties page

Step 11

Choose your resources like storage and network connectivity, fill in the blanks on the IP address detail you’ll use and let it rip.
Step 12

Step 13

Depending on your config this could take quite a while or go
quickly. Hopefully you selected the
Power on after Deployment button because you’ll want it to come online before
you deploy the proxy. While the platform is coming online and loading all of
the processes, let’s be productive and start to deploy the proxy.
This is important to note, but the platform must be online for the proxy
to be deployed.
Once again we’ll go through the typical OVF process with
requirements, EULA, location, configuration size, storage, and network mapping.
Step 1

Step 2

Step 3

Step 4

Step 5

Step 6
Step 7

Step 8

Step 9

What will be new is that when you get to the Properties page you’ll need to
generate the Shared Secret. This is used
to link the platform with the proxy.
Hopefully you’ve powered on the platform and hit its IP/DNS name with
Chrome. The first thing will be to apply your license, activate it and login
(admin@local/admin is the default account).
Now you can generate the shared secret and use the handy Copy button to
paste it to the OVF window. Fill in the
rest of the blanks and again, Power on after deployment.
Step 10

Step 11

Step 12

Step 13

Step 14

Step 15

Step 16

It’ll spin and take some time depending on
your config. Remember, these are big
OVAs and so go get some coffee or check your email. After
the proxy comes up, it’ll be automatically detected by the platform and you’re
done!

The next blog, we’ll talk about how to start getting it all setup to collect data.
Links:
vRNI 3.2 Main Document Page - https://www.vmware.com/support/pubs/vrealize-network-insight-pubs.html
vRNI Upgrade Guide to 3.2 - https://kb.vmware.com/selfservice/microsites/search.do?language=en_US&cmd=displayKC&externalId=2148271
Want to learn more about vRNI? This free MyLearn class is a great place to start!
https://mylearn.vmware.com/mgrReg/courses.cfm?ui=www_edu&a=one&id_subject=78247
Want to learn more about vRNI? This free MyLearn class is a great place to start!
https://mylearn.vmware.com/mgrReg/courses.cfm?ui=www_edu&a=one&id_subject=78247