Showing posts with label Tech. Show all posts

Monday, September 11, 2017

Free NSX Books

FREE NSX Books - Updated 8/6/2018

It doesn't get much better than this - free books about NSX and they feature some of the most relevant topics customers ask about!

Micro-segmentation is a use case that so many customers benefit from and we offer two books. The first is a Day One planning guide and the 2nd is a Day Two operations guide.

The next is a hot topic of Operationalizing NSX and provide guidance for some thought provoking questions organizations face as they adapt and mature their IT organizations.

A great addition to the knowledge base is Automation with PowerNSX. This is a stellar resource to help harness the strength of PowerNSX to help customers on their journey to automation nirvana.

A new book to add to the portfolio helps address some of the requirements for Small and Medium Business.

The newest additions to the library cover more hot and relevant topics including Cross vCenter NSX Designs and Automation Fundamentals.

I love how this series keeps growing!

NSX Micro-Segmentation Day 1 Guide


Building VMware NSX Powered Clouds and Data Centers for Small and Medium Businesses


VMware NSX Automation Fundamentals


I hope you'll enjoy these free resources and spread the good word! 

Thursday, June 15, 2017

Reading NSX VXLAN Encapsulated Frames

A question that frequently comes up in conversations with customers is the "loss of visibility" when moving from a traditional network implementation to an overlay model using VXLAN. This is a very valid concern and having been a network operator in my past, a concern I can really appreciate. Many times the need to do packet level analysis is required to help resolve an issue. Usually it ends up being a "See where your application rejects the syntax sent to it" more than a legitimate network issue, but since the network has the tools and visibility, the responsibility falls to them.

One of the more common tools is Wireshark so that's what we'll use in this example. We have a very simple topology that looks like this. The DC1-CentOS-01 machine is connected to a NSX provided logical switch, which uses VXLAN for the transport. We have a Distributed Logical Router (DLR) running OSPF to then connect to a NSX Edge that also uses OSPF to connect to a Cisco Catalyst 4948 and from there, the rest of the world.
I setup a SPAN session from the interface where the VXLAN traffic on the ESX host hits the network to my laptop. Nothing magical here, just the usual SPAN session.

I fired up Wireshark and selected my wired interface. As this is a trunk from my ESXi server and I use NFS for my file system, I saw a ton of traffic. I used the filtering capability in Wireshark to display the traffic with a source IP of 192.168.11.18, which is the VXLAN vmk of the ESXi host where the CentOS VM is running. Here's what we see - at first glance, promising!


Let's expand the headers so we can see the traffic encapsulated in VXLAN.

Oh, it must be in the data section.

Ummmm, now what?  Have no fear, the data is there, we just need to tell Wireshark to decode it properly.  Click on Analyze ----> Decode As

Click on the + in the lower left corner and let's fill in the blanks.

Now when you click on OK, it'll take you back to the trace file and check this out....we see a totally different view of the world.


I mentioned earlier we are running OSPF and there it is.  So what about traffic from the CentOS-01 VM?  Well, let's start something and see what we see.
That looks better. Yes, I know it's a cop out that I am just pinging Google - it's easy and still illustrates the point. Let's look at the headers now.
We can expand the VXLAN header and see the VNI assigned by NSX for that logical segment.

We can also see the original L2 frame and IP header.

Pretty cool, isn't it?

So with just a few clicks you are able to see inside VXLAN frames and not lose visibility for packet capture. Hopefully this was helpful.

The pcap file can be found here.

For completeness I used this version of Wireshark.

Tuesday, April 25, 2017

Adventures in Getting Started With PowerShell


This might be a bit below many of you and if so, feel free to laugh at my newness to PowerShell. I am beginning my journey in becoming “API-enabled” with a focus on VMware products, specifically VMware NSX, and from talking with customers and peers, PowerShell seemed like a great place to start.  I saw on Twitter that we have released a new PowerCLI this week so I figured let’s start with that. 

My home lab has a Windows 2012R2 server that I use for my admin/jumpbox so I started a RDP session, opened a PowerCLI window and started to follow along on the blog.  After failing with the first command, I knew I was in for a great learning experience and started this blog post.

A quick search online and I see I may not really have PowerShell installed or it is woefully out of date.  I’ve downloaded the RTM and installed it per the instructions on this MSDN article.  So after a reboot, let’s try it again. Much better!

Next, I needed to import the VMware PowerCLI module and it asked me to participate in the Customer Experience Improvement Program (CEIP).

I chose to participate as I am just a guy blonking around on a keyboard and not playing with production or customer workloads.  I also followed the instructions to create a shortcut on my desktop that would automatically load the PowerCLI module every time I open the window.  Simple, right?  Like I said, I am getting started so apologize if this comes off as a “Color by Numbers” approach – it’s what I need.

So now that I have PowerCLI installed on my host, where do I go next?  Well, I want PowerNSX so I start at GitHub and read this post.  I follow along and paste the string to install it and it’s obvious from the long, complex string I have a lot of things to learn (Good!)

You can see there is a bit of an issue, probably related to the new installation of PowerCLI, so let’s open an Issue.  Lo and behold, my colleague in the UK has already found this issue and the
PowerNSX team have already provided a new one-liner to fix it.


Armed with the new string, it seems much happier.


Now I have PowerNSX and am ready to be dangerous.  We’ll save the fun stuff for the next post!

Note this was originally posted on CodeNSX.com/blog 


Tuesday, March 28, 2017

VMworld 2017 Session Voting Is Live

It's that time of year again, where you get to play a unique role in deciding what content and speakers you want to see at VMworld 2017. This is one of the most unique attributes VMworld offers in my opinion and allows you, the customer and attendee, to help shape your conference experience.

Wednesday, March 22, 2017

vRNI Next Steps - Adding Data Sources

A few weeks months ago I did a blog post on how to install VMware vRealize Network Insight 3.2. It has been a busy beginning of the year for me and I am now ready to share the next step in getting vRNI setup , adding Data Sources.  Data Sources in vRNI are where vRNI starts to gain intelligence about the topology, workloads and traffic.

Tuesday, March 21, 2017

4 Byte BGP ASN Support in NSX 6.3

One of the new features of NSX 6.3 that some customers have been waiting for is 4-byte Autonomous System Number (ASN) support for the Border Gateway Protocol (BGP). While the concept is simple

and the technology not new for many I wanted to show how it works and what we do with NSXv.
First, if you are unfamiliar with 4-byte ASN, read RFC 6793. Exciting stuff to read, but the long and short is that we were running out of Autonomous System numbers because of the initial use of 2 byte values. It’s now been increased to 4 bytes which allows for 4.2 billion AS to be assigned. Hopefully this will keep the problem of exhausting AS numbers at bay until we all retire. Side note, computer history is full of issues like this where the initial implementation of a technology doesn’t scale to meet requirements due to a bit of shortsightedness – HIMEM.SYS anyone?

Monday, March 20, 2017

Upgrading NSX to 6.3.1 - Step by step

NSX 6.3.1 was recently released to address some critical bugs and is the 2nd release of the newest major train. This train brings a whole new set of skills and capabilities to the platform which I will cover in future blog posts. If you can't wait, the release notes can be found here.

This post will cover the mechanics of the upgrade procedure from NSX 6.2, in this case 6.2.4 specifically, to NSX 6.3.1. Much of the look and feel is similar to the previous versions but we'll show the process in full - step by step.  We have so many new customers I want to make sure they see the process beginning to end. Certainly the official upgrade document should be reviewed in addition to this post. It can be found here.

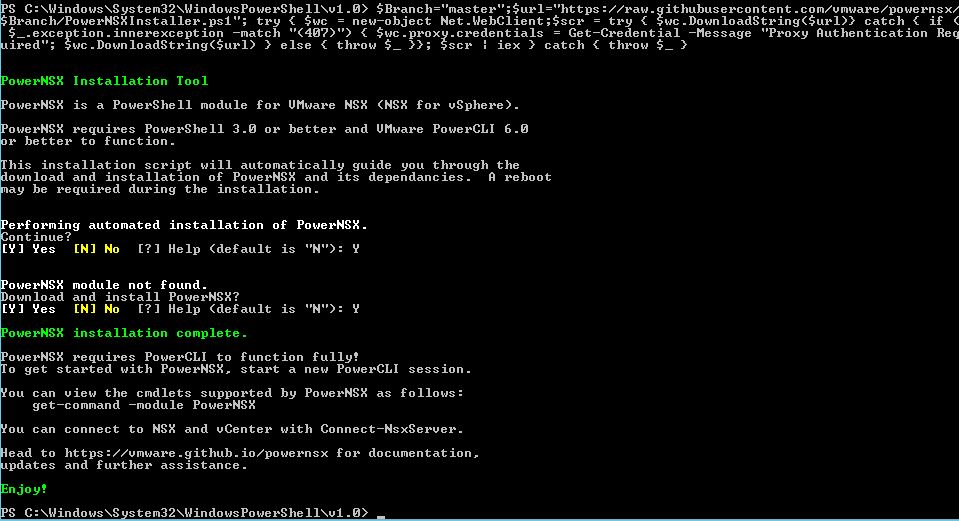
The first step is to login to the NSX Manager.

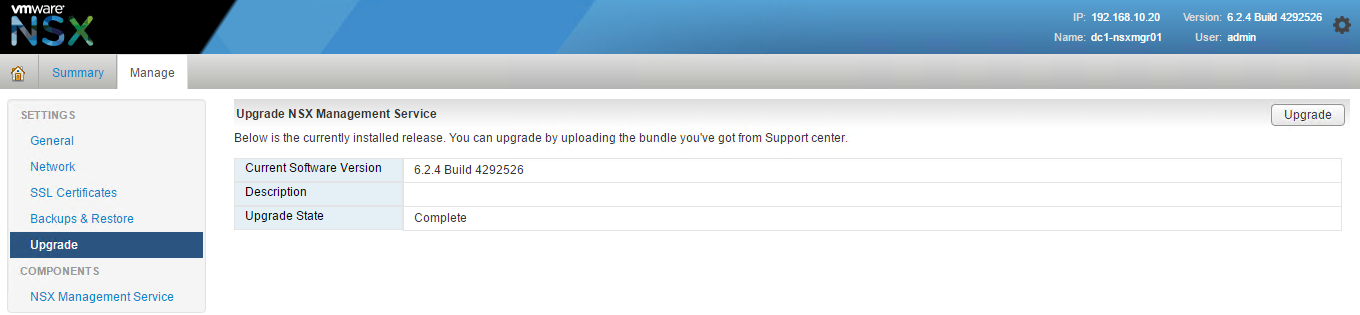
From the home page navigate to the upgrade page.

You'll see the current release and see an Upgrade button on the right hand side of the page.

Next, find the .OVA file and upload it.

The system will upload the file and verify it isn't corrupted.


Once this is complete, you'll see the following screen where you can select a few things - enabling SSH to the NSX manager (say yes if you don't know - NSX Central CLI is good stuff!) and authorization for "CEIP".  Participate if you can, but some corporate policies may prohibit it.

The upgrade will progress and depending on your system speed, may take some time.

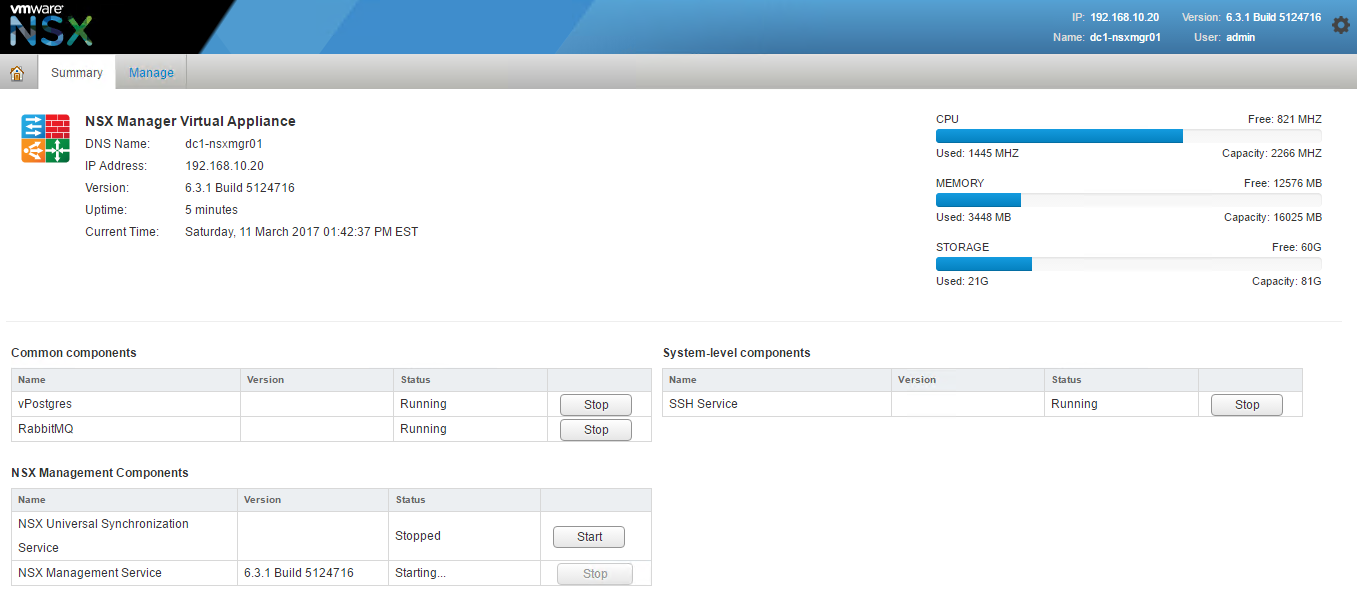
Once complete, the NSX Manager will reload and come back to the login page. Login and you can see the new version information, and the first inkling of a new NSX 6.3 feature, FIPS mode.


Now that NSX Manager is upgraded, we can go upgrade the rest of the NSX components and this is accomplished via the NSX GUI in vCenter Web Client.  First thing to do is check the health of your system and we've made it easier for customer in NSX 6.2 and even easier in NSX 6.3 via the Dashboard.

Assuming everything is healthy, go to the Management tab click on Upgrade Available to get the controllers rolling. my setup is a home lab, so only have one controller but you'll have three in your network. 


You'll see three states - Downloading, Upgrade in Progress, and Rebooting, After the controllers reboot You'll be set to proceed.


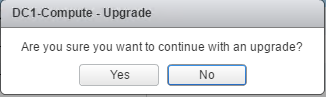
Next, go to the installation tab and start with the Host Preparation tab and you can see the Upgrade available. Click on the Upgrade available tab next to the cluster you want to start with. You'll be asked to verify your selection.


This can take some time we the upgrade rolls across the hosts. The hosts will be rebooted to load the new VIBs so plan accordingly. 


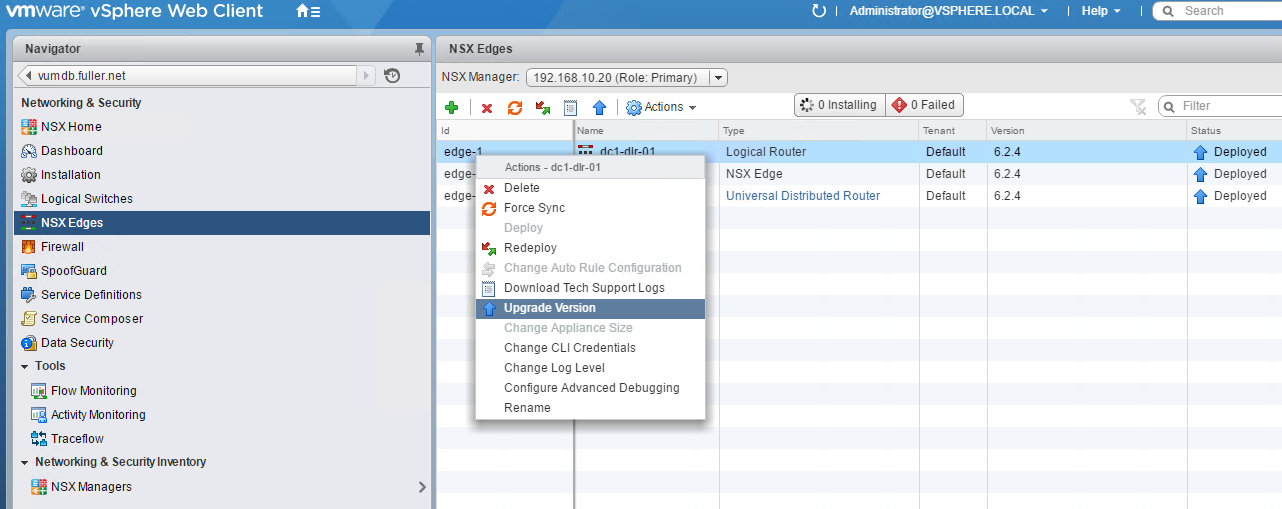
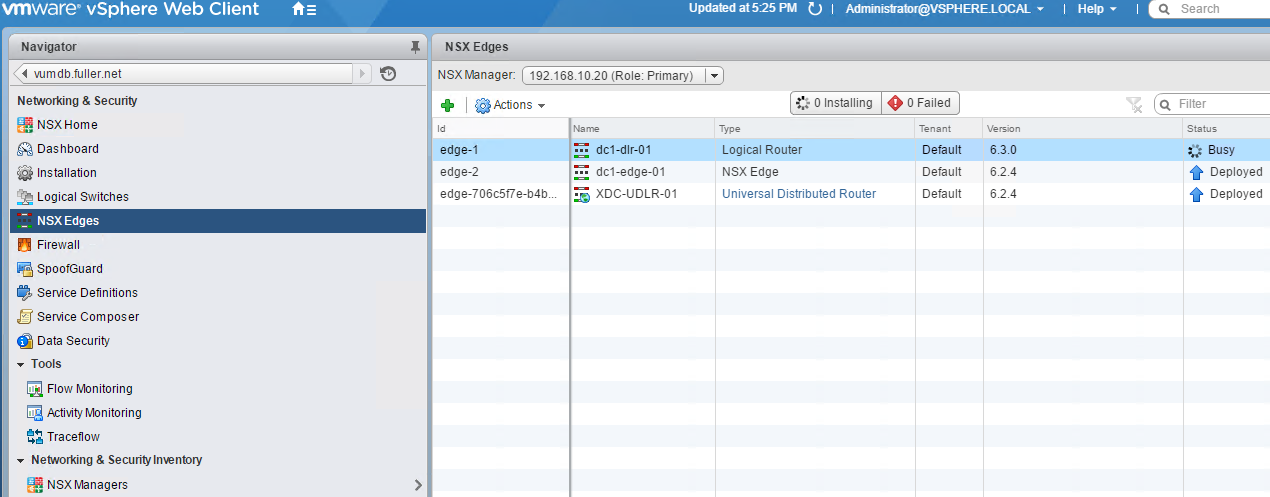
The last step is to upgrade the Edges. You'll see the Blue Upgrade arrow so click on it and watch the upgrade roll.  Note this will be disruptive as well, so plan accordingly!


With that, you've upgraded NSX to 6.3.1 and now have the platform to do a lot of awesome things. I am excited about this release and can't wait to share some of the nuggets of the features we added and enhancements to existing processes with you all.